

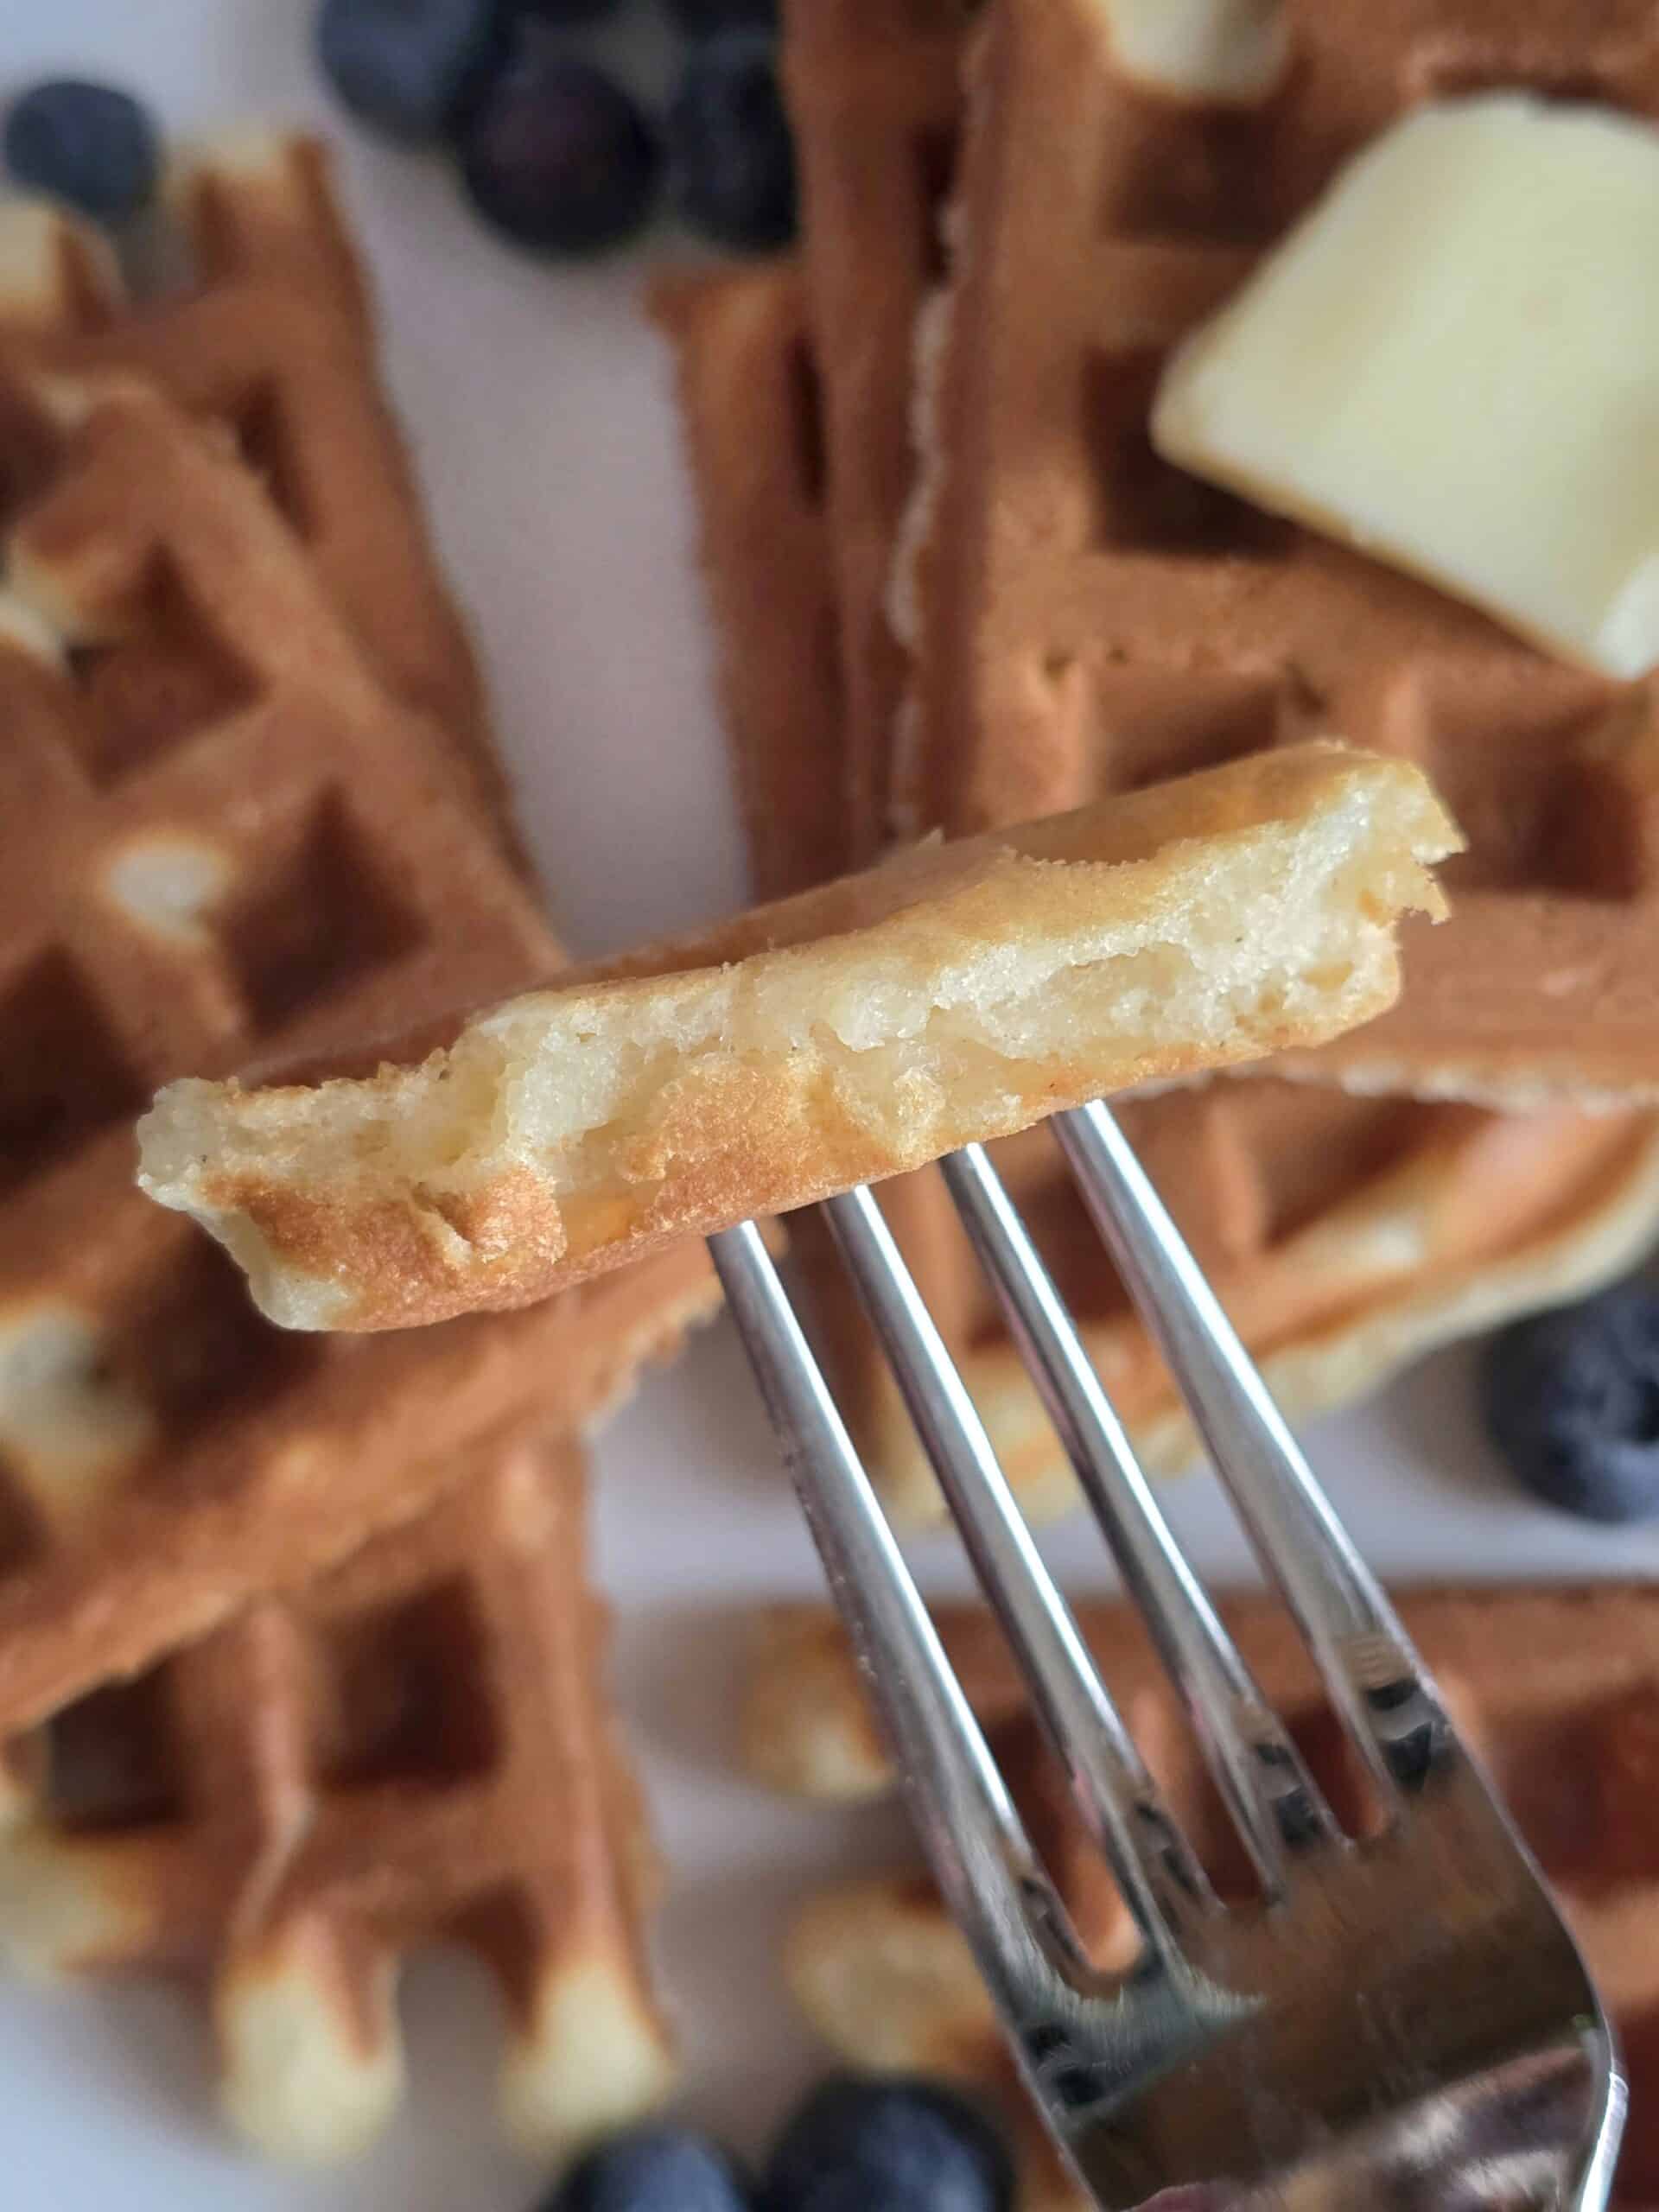
Every gluten free kitchen needs a reliable, go-to waffle recipe, and this one checks all the boxes. These gluten free waffles are crisp on the outside, fluffy in the center, and simple enough for busy mornings but good enough for weekend brunch. No strange ingredients, no complicated steps. Just classic waffles that taste like the real deal!

Why This Is My Go-To Gluten Free Waffle Recipe
This is the waffle recipe I come back to again and again because it's:
- Made with simple pantry ingredients
- Easy to customize with sweet or savory add-ins
- Light and fluffy without being dry
- Perfect for freezing and meal prep
- Great for kids, brunch, or breakfast any day of the week!
It's also a recipe that works whether you're newly gluten free or have been baking gluten free for years!
Ingredients You'll Need
The key to good gluten free waffles is using a high-quality gluten free 1:1 flour blend that already contains xanthan gum. This helps mimic the structure that gluten normally provides and keeps the waffles from falling apart.
Using milk and eggs adds richness, while a little oil helps create that crispy exterior waffles are known for.
- Gluten free 1:1 all-purpose flour
- Sugar
- Baking powder
- Salt
- Eggs
- Milk (dairy or dairy free)
- Neutral tasting oil
- Vanilla extract
If you love this waffle recipe, you'll also love my go-to recipe for Fluffy Gluten Free Pancakes!
Instructions
- Preheat your waffle iron according to manufacturer instructions.
- In a large bowl, whisk together the gluten free flour, sugar, baking powder, and salt.
- In a separate bowl, whisk the eggs, milk, oil, and vanilla until smooth.
- Add the wet ingredients to the dry ingredients and stir until just combined. Do not overmix.
- Lightly grease the waffle iron and pour batter onto the hot surface.
- Cook until the waffles are golden brown and crisp.
- Remove carefully and serve immediately or place on a wire rack to stay crisp.
Tips for Crispy Gluten Free Waffles
- Let the batter rest for 5 minutes before cooking to hydrate the flour.
- Avoid stacking hot waffles because this traps steam and softens them.
- If you're making a large batch, keep cooked waffles warm in a 200°F oven directly on the rack.
Make-Ahead & Freezer Friendly!
These gluten free waffles are perfect for meal prep. Let them cool completely, then freeze in a single layer before transferring to a freezer bag. Reheat in the toaster or oven until hot and crisp.
This makes weekday mornings easy while still serving a nutritious homemade gluten free breakfast!
Easy Variations for these Gluten Free Waffles
Once you've mastered this base recipe, it's easy to customize:
- Add chocolate chips or blueberries to the batter
- Stir in cinnamon for a cozy flavor
- Use dairy free milk and oil for dairy free gluten free waffles
- Turn them savory by skipping the sugar and adding herbs or cheese
Serving Ideas
Top these homemade gluten free waffles with maple syrup, fresh fruit, whipped cream, nut butter, or yogurt. They also work great as a base for fried chicken, breakfast sandwiches, or dessert waffles.
If you're looking for a basic gluten free waffle recipe that works every time, this one is it! Simple, reliable, and endlessly customizable, these waffles deserve a permanent spot in your breakfast rotation.
Have you tried this recipe? Be sure to leave a comment below and tag me on Instagram @thrivingglutenfree so I can see how it turned out!
Let's cook!

Homemade Gluten Free Waffles
Ingredients
Equipment
Method
- Preheat your waffle iron according to manufacturer instructions.
- In a large bowl, whisk together the gluten free flour, sugar, baking powder, and salt.
- Add the wet ingredients to the dry ingredients and stir until just combined. Do not overmix.
- Lightly grease the waffle iron and pour batter onto the hot surface.
- Cook until the waffles are golden brown and crisp.
- Remove carefully and serve immediately or place on a wire rack to stay crisp. Top with butter, syrup, fruit or your favorite toppings. Enjoy!
Nutrition
Nutrition information is automatically calculated, so should only be used as an approximation.

Paulie says
Delicious every time. Seriously cannot taste the difference between these and regular waffles!
Thriving Gluten Free says
That's a win for sure! So happy you enjoyed the recipe!